1 1/2" Coils |
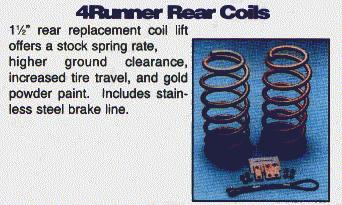 |
| You would find this picture on Downey's Webpage, if they would emerge from the dark ages and made one. |
Ā
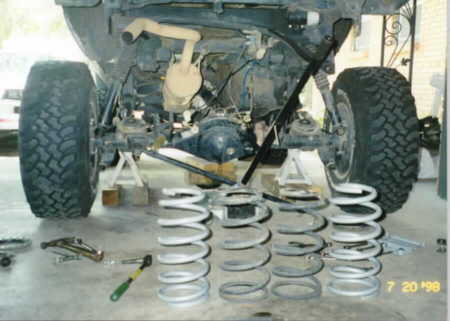
1 1/2" Coils |
|
| You would find this picture on Downey's Webpage, if they would emerge from the dark ages and made one. |
 |
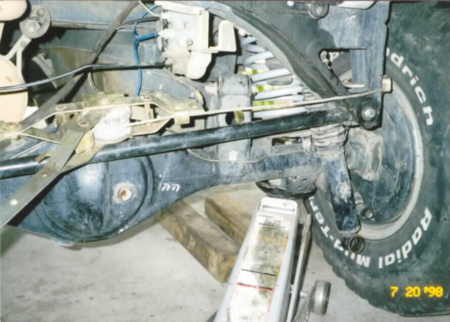 |
You can see the jack stands, under |
I used a "unique" approach to |